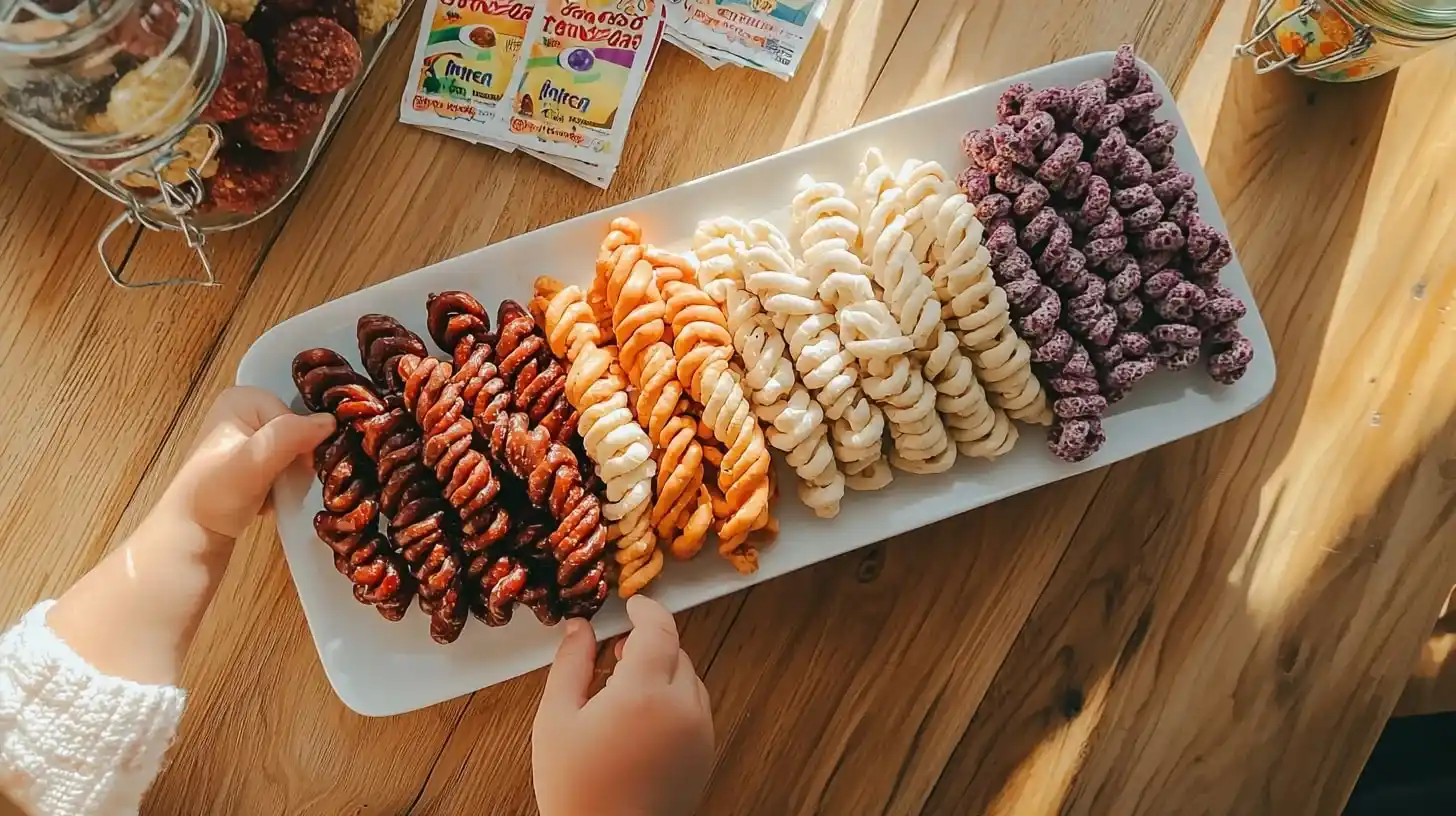
The summer my children discovered the joy of making homemade Kool-Aid licorice ropes remains etched in my memory like a bright splash of color. It was during a particularly rainy Kentucky July when cabin fever had reached its peak. My middle son, sighing dramatically at the window watching yet another downpour, asked if we could “make something amazing” to chase away the gloom.
Remembering a candy-making adventure from my own childhood, I gathered Kool-Aid packets from the pantry – those vibrant little envelopes of possibility that had been waiting for their moment to shine. “We’re going to make candy,” I announced, and suddenly three pairs of eyes widened with the particular brand of excitement that only homemade sweets can inspire.
What followed was an afternoon of stirring, laughing, and eventually proudly twisting ropes of colorful licorice that stained our fingers and brightened our moods. My youngest declared it “better than magic” as she watched simple ingredients transform into stretchy, vibrant candy ropes. Now, whenever gray skies loom, someone inevitably suggests our “licorice remedy” – a tradition that brightens any day with both process and sweet results.
Table of Contents
Table of Contents
Why You’ll Love These Homemade Kool-Aid Licorice Ropes
These colorful candy ropes have become a favorite rainy-day activity in our home for good reason. Here’s why they’ll become a tradition in your kitchen too:
- Vibrant customization: Children can choose their favorite Kool-Aid flavors and colors
- Engaging process: The candy-making becomes a memorable activity in itself
- Impressive results: Store-bought appearance with homemade pride
- Teachable moments: Introduces basic cooking concepts through a fun project
- Affordable ingredients: Creates special treats with pantry staples
- No artificial preservatives: Control what goes into your family’s treats
For more kid-friendly cooking projects that create both memories and treats, visit our No-Bake & Quick Treats: Effortless Sweet Indulgences collection, which offers additional inspiration for family-friendly kitchen adventures.
If you enjoy making homemade versions of store-bought favorites, you might also love our Subway Footlong Cookie or our Dill Pickle Peanut Butter Cups for more creative kitchen projects.
Simple Ingredients for Homemade Kool-Aid Licorice Ropes
Homemade Kool-Aid Licorice Ropes
Ingredients
- 1 cup granulated sugar
- 1/2 cup light corn syrup
- 1/4 cup water
- 2 tablespoons unsalted butter
- 1/4 teaspoon salt
- 2 envelopes (about 2 tablespoons) unflavored gelatin
- 1/4 cup cold water (for blooming gelatin)
- 2 packets (0.13 oz each) unsweetened Kool-Aid mix, any flavor
- 1/2 teaspoon vanilla extract
- 1/4 cup cornstarch (for dusting)
Instructions
- Line a baking sheet with parchment paper and dust lightly with cornstarch.
- In a small bowl, combine gelatin and 1/4 cup cold water. Stir briefly and set aside to bloom.
- In a medium saucepan over medium heat, combine sugar, corn syrup, 1/4 cup water, butter, and salt. Stir occasionally until sugar dissolves completely.
- Insert a candy thermometer and continue cooking without stirring until the mixture reaches 250°F (hard-ball stage).
- Remove from heat and carefully stir in the bloomed gelatin until completely dissolved
- Add Kool-Aid powder and vanilla extract, stirring until fully incorporated.
- Allow the mixture to cool slightly until it can be handled safely but is still pliable.
- Dust your hands with cornstarch and pour the mixture onto the prepared baking sheet. Let it cool just until you can handle it comfortably.
- Once cool enough to handle, dust with more cornstarch and begin pulling and stretching the candy like taffy until it becomes opaque and develops a glossy sheen
- Divide the candy into portions and roll each piece between cornstarch-dusted hands into rope shapes of desired thickness.
- Allow the licorice ropes to cool completely on parchment paper dusted with cornstarch, about 2 hours.
- Once completely set, store in an airtight container with parchment paper between layers to prevent sticking.
Notes
Show Image Simple pantry ingredients plus colorful Kool-Aid packets transform into magical homemade licorice ropes – a rainy day adventure in your kitchen!
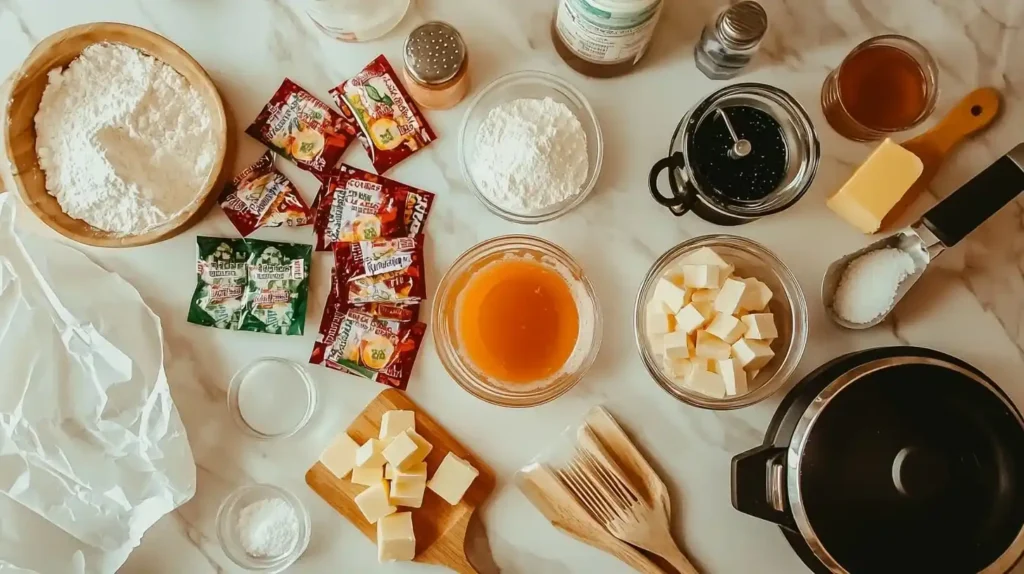
For these vibrant homemade kool-aid licorice ropes, you’ll need:
- 1 cup granulated sugar
- 1/2 cup light corn syrup
- 1/4 cup water
- 2 tablespoons unsalted butter
- 1/4 teaspoon salt
- 2 envelopes (about 2 tablespoons) unflavored gelatin
- 1/4 cup cold water (for blooming gelatin)
- 2 packets (0.13 oz each) unsweetened Kool-Aid mix, any flavor
- 1/2 teaspoon vanilla extract
- 1/4 cup cornstarch (for dusting)
My grandmother always said that the simplest ingredients create the most joy when transformed by little hands and big imaginations. These licorice ropes embody that philosophy perfectly – basic pantry staples that become vibrant, stretchy candy ropes that delight children of all ages.
For more creative candy-making ideas, explore our comprehensive Homemade Dessert Recipes: Sweet Treats for Everyday Joy guide or try our Candied Grapefruit Peel for another homemade candy adventure.homemade kool-aid licorice ropes.
Easy Step-by-Step Preparation
- Begin by preparing your work surface and gathering equipment. Line a baking sheet with parchment paper and dust lightly with cornstarch. My daughter always takes charge of this step, carefully ensuring every inch is covered “so our candy doesn’t stick and ruin everything.”
- In a small bowl, combine gelatin and 1/4 cup cold water. Stir briefly and set aside to bloom. My son watches this process with fascination every time, calling it “food science magic” as the granules expand and absorb the water.
- In a medium saucepan over medium heat, combine sugar, corn syrup, 1/4 cup water, butter, and salt. Stir occasionally until sugar dissolves completely. My youngest takes her stirring duties very seriously, counting each rotation like a tiny chef.
- Insert a candy thermometer and continue cooking without stirring until the mixture reaches 250°F (hard-ball stage). This patience-testing wait is when we usually share stories or plan which flavor we’ll try next time.
- Remove from heat and carefully stir in the bloomed gelatin until completely dissolved. The transformation from grainy to smooth always elicits excited commentary from my children.
- Add Kool-Aid powder and vanilla extract, stirring until fully incorporated. This is the moment the mixture transforms into its vibrant final color – a revelation that never fails to delight young helpers.
- Allow the mixture to cool slightly until it can be handled safely but is still pliable. This brief waiting period tests everyone’s patience, but as my grandmother would say, “The best treats are worth waiting for.”
- Dust your hands with cornstarch and pour the mixture onto the prepared baking sheet. Let it cool just until you can handle it comfortably. My children hover nearby during this cooling process like tiny candy-making supervisors.
- Once cool enough to handle, dust with more cornstarch and begin pulling and stretching the candy like taffy until it becomes opaque and develops a glossy sheen. This stretching process is my children’s favorite part – they take turns pulling the increasingly elastic candy.
- Divide the candy into portions and roll each piece between cornstarch-dusted hands into rope shapes of desired thickness. My son always makes his “super skinny” while my daughter prefers “jumbo ropes.”
- Allow the licorice ropes to cool completely on parchment paper dusted with cornstarch, about 2 hours. The waiting is difficult, but necessary for the perfect chewy texture.
- Once completely set, store in an airtight container with parchment paper between layers to prevent sticking. If the licorice feels too sticky, a light dusting of additional cornstarch solves the problem.
The entire process takes about 30 minutes of active time, plus cooling, making these homemade Kool-Aid licorice ropes perfect for an afternoon activity that yields sweet rewards.
My Best Tips for Perfect Homemade Kool-Aid Licorice Ropes
Through many colorful batches of these vibrant treats, I’ve gathered several tips that ensure candy-making success:
For the brightest colors: Use unsweetened Kool-Aid powder rather than the presweetened version. The concentrated color creates that vibrant, store-bought appearance that children find irresistible. My first batch used presweetened mix and resulted in disappointingly pale ropes.
For the perfect texture: Use a candy thermometer and don’t rush the cooking process. Achieving exactly 250°F creates the ideal chewy-not-sticky consistency. My early attempts without precise temperature measurement resulted in either tooth-breaking hardness or never-setting stickiness.
For more creative food projects perfect for children, check our Special Occasion Desserts: Celebration Sweets collection or try our Chocolate Covered Cherry Rice Krispies Treat for another colorful creation.
Answers to Your homemade kool-aid licorice ropes Questions
Q: How long do these licorice ropes last? Stored in an airtight container at room temperature, they keep well for about 2 weeks. For longer storage, separate layers with parchment paper to prevent sticking. My children have never allowed a batch to last longer than a few days, so this is mostly theoretical knowledge in our household!
Q: Can I use sugar-free Kool-Aid for this recipe? Yes, though the color may be slightly less vibrant. The sugar-free packets work for flavor and color, as the recipe already includes the necessary sugar. My sister makes these with sugar-free packets for her color-sensitive son, with excellent results.
For more family-friendly kitchen activities, try our Raspberry Coconut Magic Bars or explore our Cake & Sweet Bread Delights: Simple Baking Projects for more sweet inspiration.
Homemade Kool-Aid Licorice Ropes: Creating Colorful Memories
There’s something magical about transforming simple ingredients into something that looks like it came from a candy store. The first time my children proudly presented their homemade licorice to neighborhood friends, their faces glowed with the special pride that comes from creating something both beautiful and delicious.
What began as a rainy day distraction has become one of our most cherished kitchen traditions. These vibrant ropes connect us not just to the joy of candy-making but to the deeper pleasure of creating together. My middle son, now approaching his teens and occasionally “too cool” for family activities, still joins us at the stove when Kool-Aid packets appear on the counter.
My grandmother always said that the best recipes create more than food – they create moments. These colorful candy ropes, with their simple ingredients and slightly messy process, have given us countless afternoons of laughter, learning, and sweet rewards. The stained fingertips and cornstarch-dusted countertops are small prices to pay for such vibrant memories.
I hope these homemade kool-aid licorice ropes bring as much color and joy to your kitchen as they have to mine. May they create bright spots on your gray days and sweet traditions that your children will remember long after the candy is gone.
With warmth, Sophia
for more recipes follow me in facebook and pinterest and twitter

