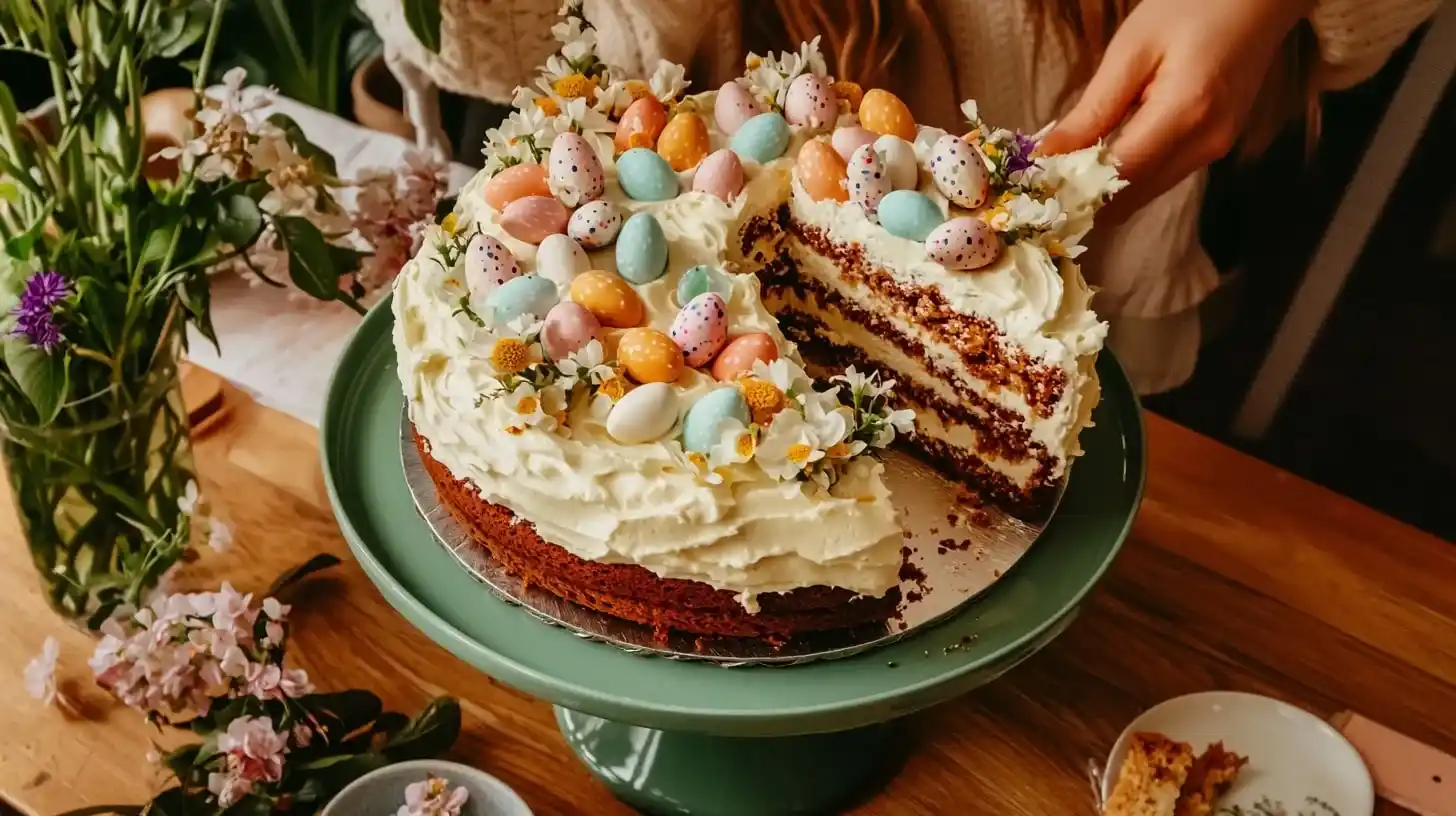
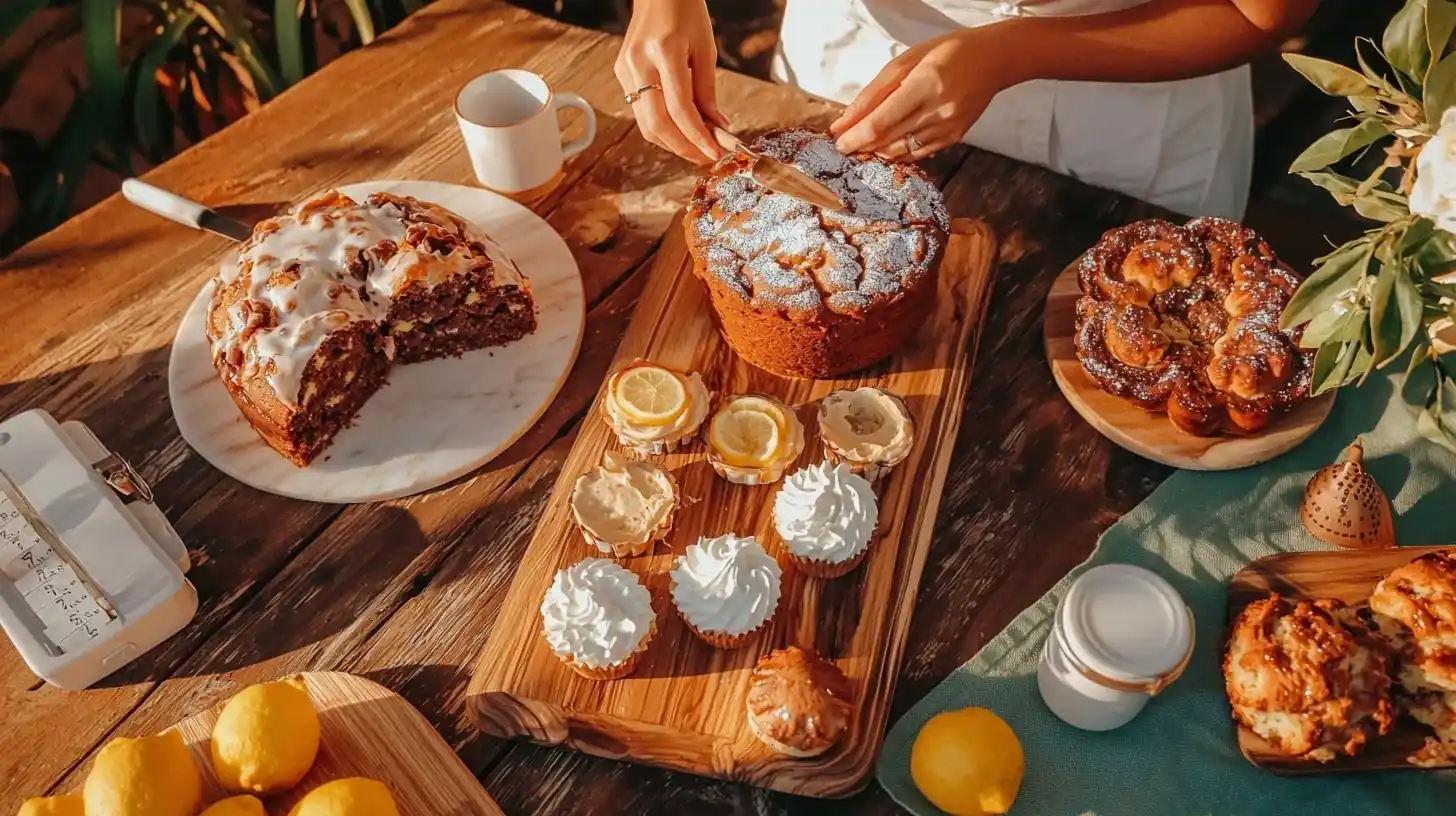
The tradition of our Easter poke cake began the year our family Easter gathering doubled in size. With my sister’s new in-laws joining us, I wanted something that would impress without keeping me sequestered in the kitchen all day. “Make something with color,” my grandmother suggested over the phone from her Kentucky home. “Easter should taste as bright as it looks.”
I remembered the poke cakes from childhood potlucks – those magical desserts with surprising bursts of color inside. After some experimentation involving my children as enthusiastic taste-testers, this Easter version was born. When my youngest son first cut into it, his gasp of delight at the rainbow of colors inside made all the effort worthwhile.
Now this cake appears every spring in our home, a tradition that signals the season’s renewal as surely as the daffodils in our garden. My husband claims it “tastes like childhood and sunshine mixed together,” which might be the highest praise a simple cake could receive.

Easter Poke Cake
Ingredients
- 1 box white cake mix
- Ingredients called for on cake mix box (usually eggs, water, and oil)
- 1 teaspoon almond extract (optional)
- 3-4 small packages (3 oz each) gelatin in different colors (blue, pink, yellow, purple)
- 2 cups boiling water (1/2 cup for each gelatin flavor)"
- 1 container (8 oz) whipped topping, thawed
- Easter sprinkles, small chocolate eggs, or edible flowers for decoration
Instructions
- Prepare and bake the white cake according to package directions in a 9×13-inch pan.
- Allow the cake to cool for about 15 minutes after baking – until it's no longer hot but still warm.
- Using the handle of a wooden spoon, poke holes all over the cake, spacing them about 1 inch apart
- Prepare each color of gelatin separately by dissolving each package in 1/2 cup boiling water. Stir until completely dissolved, about 2 minutes. Do not add cold water.
- Carefully pour the dissolved gelatin over different sections of the cake, alternating colors to create a patchwork effect.
- Refrigerate the cake for at least 3 hours, or preferably overnight.
- Spread whipped topping over the chilled cake just before serving or up to a day in advance.
- Decorate with Easter sprinkles or other festive touches.
Notes
Table of Contents
Table of Contents
Why You’ll Love This Easter Poke Cake
This festive Easter poke cake has become our family’s spring tradition for good reason. Here’s why it will become a favorite in your home too:
- Impressive presentation: The colorful interior creates a genuine “wow” moment when sliced
- Simple preparation: Uses convenient ingredients for stress-free holiday baking
- Make-ahead friendly: Actually improves when made a day before serving
- Customizable colors: Easily adapted to match any spring theme or preference
- Kid-approved project: Children love helping with the poking and color addition
- Crowd-pleasing flavor: Appeals to both children and adults with its light, refreshing taste
For more cake and sweet bread options perfect for spring celebrations, visit our Cake & Sweet Bread Delights: Simple Baking Projects collection, which offers additional inspiration for your Easter table.
If you enjoy festive spring desserts, you might also love our Easter Dirt Cake Casserole or our Easter Swirl Pie for more holiday sweetness.
Simple Ingredients for Easter Poke Cake
Show Image Simple ingredients transform into a show-stopping Easter poke cake – ready in just 20 minutes of active prep time!
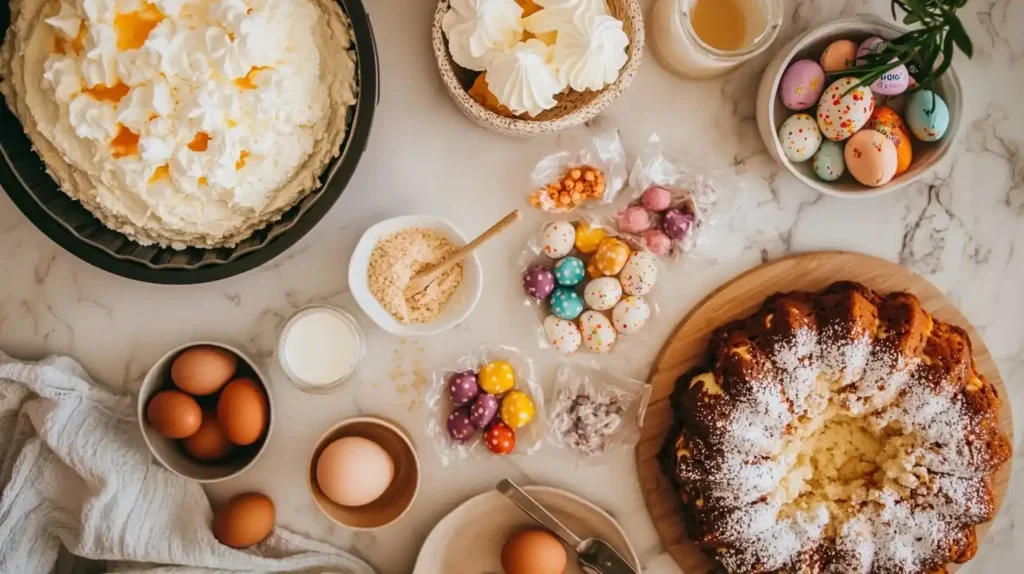
For this colorful Easter poke cake, you’ll need:
- 1 box white cake mix, plus ingredients called for on box (usually eggs, water, oil)
- 3-4 small packages (3 oz each) gelatin in different colors (I use blue, pink, yellow, and purple)
- 2 cups boiling water (1/2 cup for each gelatin flavor)
- 1 container (8 oz) whipped topping, thawed
- Easter sprinkles, small chocolate eggs, or edible flowers for decoration
My grandmother always emphasized that even “shortcut” recipes should include one special touch. For this cake, I sometimes add a teaspoon of pure almond extract to the cake batter – it adds a subtle sophistication that elevates the boxed mix.
For more special occasion desserts perfect for holidays, try our Ricotta and Lemon Marmalade Cake or explore our Special Occasion Desserts collection for more festive ideas.
Easy Step-by-Step Preparation
- Prepare and bake the white cake according to package directions in a 9×13-inch pan. My daughter takes this job very seriously, carefully cracking eggs and leveling measuring cups.
- Allow the cake to cool for about 15 minutes after baking – just until it’s no longer hot but still warm. This timing is important for proper gelatin absorption.
- Using the handle of a wooden spoon, poke holes all over the cake, spacing them about 1 inch apart. My sons always volunteer for this step, taking turns making neat rows of holes.
- Prepare each color of gelatin separately by dissolving each package in 1/2 cup boiling water. Stir until completely dissolved, about 2 minutes. Do not add cold water as directed on the gelatin package.
- Carefully pour the dissolved gelatin over different sections of the cake, alternating colors to create a patchwork effect. My children debate which colors should go where, creating an impromptu art lesson in color distribution.
- Refrigerate the cake for at least 3 hours, or preferably overnight. This resting time allows the gelatin to set and the colors to fully develop.
- Spread whipped topping over the chilled cake just before serving or up to a day in advance. I find this task strangely meditative – creating a smooth, blank canvas that hides the colorful surprise beneath.
- Decorate with Easter sprinkles or other festive touches. My daughter places each decoration with artistic precision, stepping back occasionally to assess her design.
The entire active preparation takes about 20 minutes, plus baking and chilling time, making this Easter poke cake perfect for busy holiday preparations when time is precious.
My Best Tips for Perfect Easter Poke Cake
Through many spring celebrations, I’ve refined my approach to this festive cake:
For the brightest colors: Use slightly less boiling water than called for on the gelatin packages. This creates more concentrated colors that show up vividly inside the cake. I discovered this trick after my first attempt yielded pastel rather than vibrant streaks.
For the cleanest slices: Chill the frosted cake for at least one hour before serving. This helps the cake hold its shape when cut, revealing those beautiful color streaks in each perfect slice.
For make-ahead convenience: This cake actually improves after 24 hours in the refrigerator, as the flavors meld and the gelatin fully sets. This makes it perfect for holiday preparation when you need to work ahead.
For more holiday recipe inspiration, check our Homemade Dessert Recipes guide or try our Chocolate Lasagna for another impressive but easy dessert option.
Answers to Your Easter Poke Cake Questions
Q: Can I use a homemade cake instead of a mix? Absolutely! Any white or vanilla cake recipe that makes a 9×13-inch cake will work perfectly. I occasionally make it from scratch when time allows, though my family honestly can’t tell the difference once the gelatin works its magic.
Q: How far in advance can I make this cake? This cake can be made up to 2 days ahead and stored in the refrigerator. Add the decorative toppings just before serving for the freshest appearance.
Q: Can I use sugar-free gelatin? Yes! Sugar-free gelatin works just as well and creates equally vibrant colors. I started using this option when my mother-in-law was watching her sugar intake, and no one noticed any difference.
For more Easter dessert ideas, try our Ding Dong Cake or No-Bake & Quick Treats collection for simple holiday alternatives.
Easter Poke Cake: Creating Sweet Spring Memories
This colorful cake has become more than just a dessert in our family – it’s a marker of the season, a tradition my children count on as surely as Easter egg hunts and spring flowers. Last year when we couldn’t gather with extended family, making our Easter poke cake provided a sense of normalcy and connection to previous celebrations.
My grandmother always said that family traditions don’t need to be complicated to be meaningful. This simple cake proves her wisdom – it’s not the complexity of the recipe but the joy it brings that makes it special.
As we move through life’s seasons, I find comfort in these sweet constants – the delight in my children’s eyes when they peek at the cake in the refrigerator, my husband sneaking an early taste of frosting, and the moment when the first slice reveals those beautiful color streaks.
I hope this Easter poke cake brings your family as much joy as it has brought to mine. May it become part of your own spring traditions, creating sweet memories around your holiday table.
With warmth, Sophia
for more recipes follow me in facebook and pinterest and twitter

