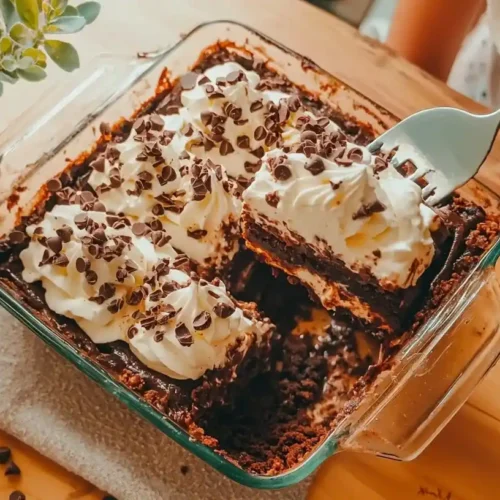
The first time I made chocolate lasagna was for my daughter’s thirteenth birthday. She had requested “something chocolate, but not cake,” leaving me momentarily stumped until I remembered my aunt bringing a layered chocolate dessert to our Kentucky family reunions years ago. The moment I set that rectangle dish on the table, revealing the perfect layers of chocolate and cream, my daughter’s eyes widened with delight.
“Mom, it looks like a dessert lasagna!” she exclaimed, and the name stuck in our household immediately. When her friends asked what kind of dessert they were enjoying, my usually-shy daughter proudly announced, “It’s chocolate lasagna – my mom’s specialty!” I hadn’t the heart to tell her it was my first attempt.
Since that day, this chocolate lasagna recipe has become our family’s go-to for potlucks, holiday gatherings, and anytime we need a dessert that looks impressive while keeping my preparation stress to a minimum. My husband claims it’s the perfect ratio of effort to compliments received – high praise from a man who normally notices little about kitchen efficiency!
Table of Contents
Table of Contents

Chocolate Lasagna
Ingredients
- 36 chocolate sandwich cookies (like Oreos)
- 6 tablespoons butter, melted
- 8 oz cream cheese, softened
- 1/4 cup granulated sugar
- 2 tablespoons milk
- 1 teaspoon vanilla extract
- 8 oz whipped topping, divided
- 2 (3.9 oz) packages instant chocolate pudding mix
- 3 cups cold milk
- Chocolate curls, mini chocolate chips, or cookie crumbs for garnish
Instructions
- Crush chocolate cookies into fine crumbs using a food processor or place in a zip-top bag and crush with a rolling pin.
- Mix cookie crumbs with melted butter until the mixture resembles wet sand. Press firmly into the bottom of a 9×13 inch dish to create an even layer.
- Place the crust in the refrigerator while preparing the next layer.
- For the cream cheese layer, beat the softened cream cheese until smooth and fluffy. Add sugar, milk, and vanilla, continuing to beat until well combined.
- Fold in half of the whipped topping (about 4 ounces) with a gentle hand.
- Spread this mixture evenly over the chilled crust.
- For the chocolate pudding layer, whisk together the pudding mixes and cold milk until it begins to thicken, about 2 minutes.
- Pour the pudding over the cream cheese layer and spread gently to create an even layer.
- Return the dish to the refrigerator for about 5-10 minutes to allow the pudding to set slightly before adding the final layer.
- Spread the remaining whipped topping over the pudding layer, creating decorative swirls if desired.
- Garnish with chocolate curls, mini chips, or additional cookie crumbs.
- Refrigerate for at least 4 hours or overnight before serving.
Notes
Why You’ll Love This Chocolate Lasagna Recipe
This layered chocolate dessert has become a cornerstone of our family celebrations for good reason. Here’s why it deserves a spot in your dessert rotation:
- No baking required: Perfect for summer or when oven space is limited
- Make-ahead friendly: Actually improves when prepared a day in advance
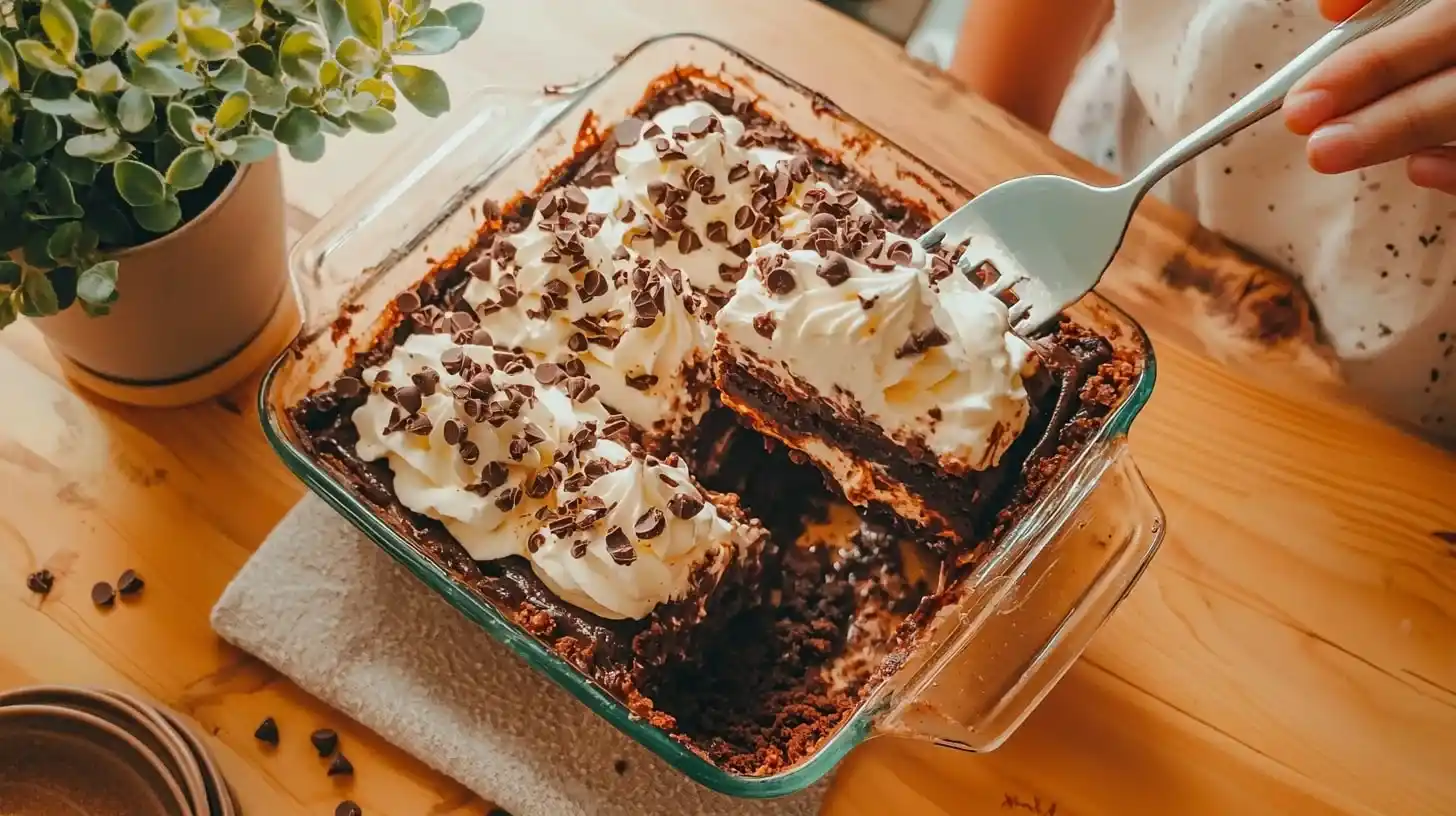
- Visually impressive: Creates a genuine “wow” moment when sliced
- Crowd-pleasing flavor: The chocolate-vanilla balance appeals to everyone
- Versatile serving options: Works for casual gatherings or dressed up for holidays
- Easily transportable: Perfect for potlucks and family gatherings
For more no-bake dessert ideas that make entertaining effortless, check out our No-Bake & Quick Treats: Effortless Sweet Indulgences collection, which offers additional options for stress-free sweet treats.
If you enjoy layered desserts, you might also love our Easter Dirt Cake Casserole or our Chocolate Lava Cakes for more chocolate indulgence.
Simple Ingredients for Chocolate Lasagna
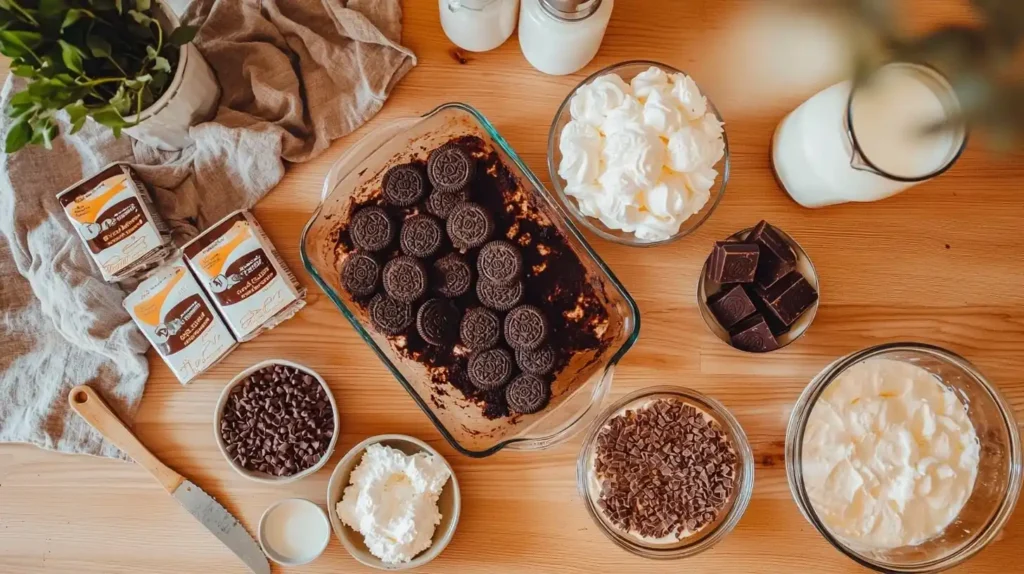
Show Image Simple ingredients transform into an impressive chocolate lasagna – ready in just 25 minutes of active prep time!

For this showstopping chocolate lasagna, you’ll need:
For the crust:
- 36 chocolate sandwich cookies (like Oreos)
- 6 tablespoons butter, melted
For the cream cheese layer:
- 8 oz cream cheese, softened
- 1/4 cup granulated sugar
- 2 tablespoons milk
- 1 teaspoon vanilla extract
- 8 oz whipped topping, divided
For the chocolate pudding layer:
- 2 (3.9 oz) packages instant chocolate pudding mix
- 3 cups cold milk
For the topping:
- Remaining whipped topping
- Chocolate curls, mini chocolate chips, or cookie crumbs for garnish
My grandmother always emphasized that the simplest recipes often make the biggest impression. “It’s not about fancy ingredients,” she would say, “but how you transform the ordinary into something special.” This chocolate lasagna proves her wisdom perfectly.
For more chocolate desserts that impress without complicated techniques, visit our Homemade Dessert Recipes: Sweet Treats for Everyday Joy guide or try our Ding Dong Cake for another crowd-pleasing option.
Easy Step-by-Step Preparation
- Begin with the crust by crushing the chocolate cookies into fine crumbs. I use a food processor for speed, but my children prefer the satisfying method of placing cookies in a zip-top bag and crushing them with a rolling pin.
- Mix the cookie crumbs with melted butter until the mixture resembles wet sand. Press firmly into the bottom of a 9×13 inch dish to create an even layer. My youngest son takes this job very seriously, using the back of a measuring cup to create what he calls “the perfect foundation.”
- Place the crust in the refrigerator while preparing the next layer. This brief chill helps the crust set up properly and prevents crumbs from mixing into your cream cheese layer.
- For the cream cheese layer, beat the softened cream cheese until smooth and fluffy. Add sugar, milk, and vanilla, continuing to beat until well combined. My daughter times this step precisely, knowing that properly whipped cream cheese creates the smoothest layer.
- Fold in half of the whipped topping (about 4 ounces) with a gentle hand. My grandmother taught me that folding maintains the airiness that gives this layer its light texture. “Stir with purpose but without aggression,” she’d say in her Kentucky kitchen.
- Spread this mixture evenly over the chilled crust. I find an offset spatula works beautifully here, though my mother-in-law manages perfectly with the back of a spoon – proof that fancy tools aren’t necessary for beautiful results.
- For the chocolate pudding layer, whisk together the pudding mixes and cold milk until it begins to thicken, about 2 minutes. My middle child counts aloud during this process, turning a simple task into both math practice and a cooking lesson.
- Pour the pudding over the cream cheese layer and spread gently to create an even layer. Work carefully to avoid disturbing the layer beneath – a lesson I learned through one memorable “marbled” attempt.
- Return the dish to the refrigerator for about 5-10 minutes to allow the pudding to set slightly before adding the final layer. This brief pause prevents the layers from blending together.
- Spread the remaining whipped topping over the pudding layer, creating decorative swirls if desired. My teenage daughter has become our family’s “swirl specialist,” creating patterns that make this simple dessert look professionally crafted.
- Garnish with chocolate curls, mini chips, or additional cookie crumbs. I let each family member decorate their “territory” of the dessert, resulting in a patchwork of garnishes that somehow works beautifully together.
- Refrigerate for at least 4 hours or overnight before serving. This patience is rewarded with perfectly set layers that slice beautifully. My family circles the refrigerator like hopeful satellites during this waiting period.
The entire active preparation takes about 25 minutes, plus chilling time, making this chocolate lasagna perfect for busy schedules when you need an impressive dessert without spending hours in the kitchen.
My Best Tips for Perfect Chocolate Lasagna
Through years of making this beloved dessert for various occasions, I’ve gathered several tips that ensure stunning results:
For the cleanest layers: Chill briefly between adding each layer. This extra few minutes of patience results in beautifully distinct layers rather than a muddled swirl. I learned this the hard way during my first rushed attempt for unexpected guests.
For the smoothest cream cheese layer: Make absolutely certain your cream cheese is properly softened. I place mine unwrapped on a plate on the counter for at least an hour before beginning. Cold cream cheese creates lumps that no amount of beating can remedy.
For make-ahead convenience: This dessert actually improves after 24 hours in the refrigerator as the cookie crust softens slightly and the flavors meld. I often make it the day before events, which reduces day-of preparation stress enormously.
For more special occasion dessert ideas, check our Special Occasion Desserts: Celebration Sweets collection or try our Chocolate Chip Cookies for a simpler crowd-pleaser.
Answers to Your Chocolate Lasagna Questions
Q: Can I use different cookies for the crust? Absolutely! Graham crackers, chocolate graham crackers, or any crisp cookie works beautifully. My sister makes a mint version using mint-filled chocolate cookies that’s become her signature potluck contribution.
Q: How far in advance can I make this dessert? This chocolate lasagna can be prepared up to 3 days ahead and stored covered in the refrigerator. The texture actually improves after the first 24 hours as the crust softens slightly. This make-ahead quality saved me during my son’s graduation party preparations.
Q: Can I make this with sugar-free pudding? Yes! Sugar-free pudding works perfectly in this recipe. I began making this adaptation when my father-in-law was diagnosed with diabetes, and no one could tell the difference. You can also use light cream cheese and light whipped topping to reduce calories.
Chocolate Lasagna: The Ultimate Make-Ahead Dessert
There’s something magical about a dessert that actually benefits from being made ahead of time. This chocolate lasagna has rescued countless dinner parties, potlucks, and holiday gatherings when other preparations demanded my attention right until serving time.
Last Christmas, as we gathered around my sister’s table, my niece asked for the story behind this dessert. As I explained its origin as an improvised birthday solution, I realized how many of our family’s favorite recipes began as creative responses to immediate needs rather than carefully planned culinary experiments.
My grandmother often said that the best recipes are the ones that create both delicious food and precious time – time to spend with those we love rather than fussing in the kitchen. This chocolate lasagna, with its make-ahead convenience and crowd-pleasing flavor, embodies that philosophy perfectly.
I hope this chocolate lasagna brings your family and friends as much joy as it has brought to mine. May it create a little extra time in your busy schedule and a lot of smiles around your table.
With warmth, Sophia


