The tradition of our Easter swirl pie began when my daughter was just five years old. “Mommy, can we make something with ALL the spring colors?” she asked, her eyes wide with the creative possibilities only a child can imagine. I thought of my grandmother’s simple cream pie recipe from her Kentucky kitchen and wondered if we could transform it into something that captured my daughter’s vision of springtime in dessert form.
That afternoon, surrounded by little bottles of food coloring and armed with toothpicks for swirling, we created what has since become our signature Easter dessert. When we sliced into that first pie, revealing the beautiful pastel swirls inside, my daughter gasped with pure delight. “It looks like spring got trapped in our pie!” she exclaimed.
Now, years later, this Easter swirl pie appears annually on our holiday table. My children have graduated from haphazard color drops to carefully planned designs, but the joy of creating those beautiful swirls together remains unchanged. My husband claims it tastes like “childhood and springtime mixed together with cream cheese” – perhaps the most poetic description a simple pie has ever received.
Table of Contents
Table of Contents
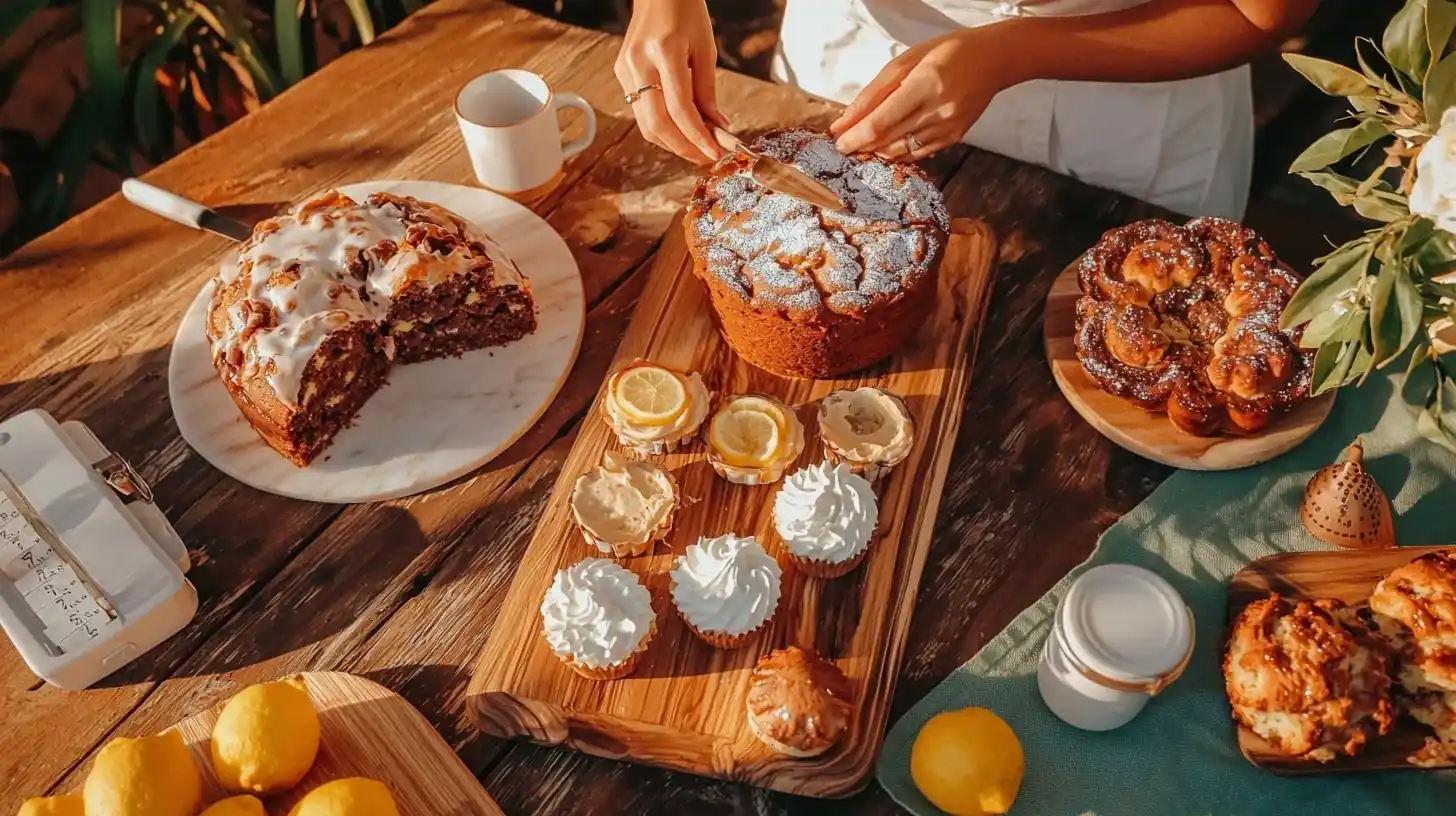
Why You’ll Love This Easter Swirl Pie
This festive Easter swirl pie has become our family’s holiday tradition for good reason. Here’s why it will become a favorite in your home too:
- Stunning presentation: The pastel swirls create a genuine “wow” moment when sliced
- No baking required: Perfect for busy holiday preparations when oven space is limited
- Make-ahead friendly: Can be prepared a day in advance for stress-free entertaining
- Kid-friendly creation: Children love helping with the colorful swirling technique
- Crowd-pleasing flavor: Creamy, not-too-sweet taste appeals to guests of all ages
- Adaptable recipe: Easy to customize colors for any celebration or season
For more spring celebration desserts, visit our Special Occasion Desserts: Celebration Sweets collection, which offers additional inspiration for your holiday table.
If you enjoy colorful Easter treats, you might also love our Easter Poke Cake or our Easter Dirt Cake Casserole for more festive options.

Easter Swirl Pie
Ingredients
- 1½ cups graham cracker crumbs (about 10 full sheets)
- ⅓ cup granulated sugar
- 6 tablespoons butter, melted
- 16 oz (2 packages) cream cheese, softened
- 14 oz (1 can) sweetened condensed milk
- 1 teaspoon vanilla extract
- 2 tablespoons fresh lemon juice
- Food coloring in spring colors (pink, blue, yellow, lavender)
- 1 cup whipped topping or freshly whipped cream (optional)
- Small candy eggs or spring-themed sprinkles (optional)
Instructions
- In a medium bowl, combine graham cracker crumbs and sugar. Add melted butter and stir until the mixture resembles wet sand.
- Press the crust mixture firmly into a 9-inch pie plate, creating an even layer across the bottom and up the sides.
- Refrigerate the crust for about 15 minutes to set while preparing the filling.
- In a large bowl, beat the softened cream cheese until smooth and fluffy, about 2 minutes.
- Add sweetened condensed milk, vanilla, and lemon juice, beating until perfectly smooth and creamy.
- Divide the filling into four or five small bowls (depending on how many colors you want to create).
- Add a few drops of food coloring to each bowl and stir gently until the desired pastel shades are achieved.
- Spoon the colored fillings randomly into the prepared crust, alternating colors to create a patchwork effect.
- Using a clean toothpick or knife, gently swirl the colors together with a light touch
- Refrigerate the pie for at least 4 hours or overnight to set completely.
- Just before serving, decorate the edge with dollops of whipped topping and candy eggs if desired.
Notes
Simple Ingredients for Easter Swirl Pie
Show Image Simple ingredients transform into a showstopping Easter swirl pie – ready in just 20 minutes of active prep time!

For this beautiful Easter swirl pie, you’ll need:
For the crust:
- 1½ cups graham cracker crumbs (about 10 full sheets)
- ⅓ cup granulated sugar
- 6 tablespoons butter, melted
For the filling:
- 16 oz (2 packages) cream cheese, softened
- 14 oz (1 can) sweetened condensed milk
- 1 teaspoon vanilla extract
- 2 tablespoons fresh lemon juice
- Food coloring in spring colors (pink, blue, yellow, lavender)
For decoration (optional):
- 1 cup whipped topping or freshly whipped cream
- Small candy eggs or spring-themed sprinkles
My grandmother always emphasized that the simplest recipes often create the most magical results. “It’s not about fancy ingredients,” she would say, “but about the love and creativity you mix in.” This Easter swirl pie proves her wisdom perfectly.
For more creamy, no-bake options perfect for spring, try our Chocolate Lasagna Recipe or explore our No-Bake & Quick Treats: Effortless Sweet Indulgences collection for more simple dessert ideas.
Easy Step-by-Step Preparation
- Begin with the crust by combining graham cracker crumbs and sugar in a medium bowl. Add melted butter and stir until the mixture resembles wet sand. My youngest son always takes this job, carefully pressing the crumbs with the back of a measuring cup “to make it strong enough to hold all the colors,” as he explains.
- Press the crust mixture firmly into a 9-inch pie plate, creating an even layer across the bottom and up the sides. My oldest daughter taught me to use the bottom of a flat measuring cup for the most even results – wisdom she gained from watching baking shows.
- Refrigerate the crust for about 15 minutes to set while preparing the filling. This brief chill helps the crust maintain its shape when you add the creamy filling.
- In a large bowl, beat the softened cream cheese until smooth and fluffy. This step is crucial for a lump-free filling. My middle child counts aloud to 60 as we mix, ensuring we don’t shortcut this important process.
- Add sweetened condensed milk, vanilla, and lemon juice, beating until perfectly smooth and creamy. The mixture should be thick enough to hold swirls but fluid enough to settle into a smooth surface.
- Divide the filling into four or five small bowls (depending on how many colors you want to create). My children negotiate which colors each person gets to mix – a tradition as established as the pie itself.
- Add a few drops of food coloring to each bowl and stir gently until the desired pastel shades are achieved. Start with just a drop or two – you can always add more, but you can’t remove color once added. My daughter learned this lesson when her “spring sky blue” became “electric neon” one memorable Easter.
- Spoon the colored fillings randomly into the prepared crust, alternating colors to create a patchwork effect. Don’t worry about being too precise – the beauty comes in the natural randomness.
- Using a clean toothpick or knife, gently swirl the colors together with a light touch. Excessive swirling will blend the colors too much, so I always remind my children that “less is more” with this technique.
- Refrigerate the pie for at least 4 hours or overnight to set completely. This patience is rewarded with clean, beautiful slices that showcase your swirl pattern perfectly.
- Just before serving, decorate the edge with dollops of whipped topping and candy eggs if desired. My children each decorate their own section, creating a pie that’s as unique as our family.
The entire active preparation takes about 20 minutes, plus chilling time, making this Easter swirl pie perfect for busy holiday preparations when time and oven space are at a premium.
My Best Tips for Perfect Easter Swirl Pie
Through years of creating this springtime favorite, I’ve gathered several tips that ensure stunning results:
For the most vibrant swirls: Use gel food coloring rather than liquid for more concentrated color without thinning the filling. When my sister-in-law introduced us to gel colors, our pie transformed from pretty to spectacular.
For the cleanest slices: Dip your knife in warm water and wipe clean between cuts. This simple technique, which my mother taught me, creates picture-perfect slices that showcase your beautiful swirl pattern.
For more spring dessert inspiration, check our Cake & Sweet Bread Delights guide or try our Ricotta and Lemon Marmalade Cake for another spring-worthy treat.
Answers to Your Easter Swirl Pie Questions
Q: Can I use a pre-made graham cracker crust? Absolutely! While homemade has a slightly better texture and flavor, a store-bought crust works perfectly when time is short. I keep one in my pantry for last-minute gatherings or when my children request this pie “just because.”
Q: How far in advance can I make this pie? This pie can be made up to 2 days ahead and stored covered in the refrigerator. Add any whipped topping decoration just before serving for the freshest appearance. The make-ahead nature makes it perfect for busy holiday preparations.
Q: Can I use natural food colorings instead of artificial? Yes! Plant-based food colors work beautifully, though they typically create more subtle, earthy tones rather than bright pastels. We tried this approach when my nephew was sensitive to food dyes, creating a pie with gentle, watercolor-like swirls.
For more holiday dessert ideas, try our Homemade Dessert Recipes collection for inspiration across all seasons and celebrations.
Easter Swirl Pie: Creating Colorful Spring Memories
There’s something magical about a dessert that captures the essence of a season visually. This Easter swirl pie, with its pastel ribbons of color, brings spring to your table in a way that delights before the first bite is even taken.
Last Easter, my now-teenage daughter – the same one who inspired this creation years ago – took over the pie-making entirely. As I watched her patiently explaining the swirling technique to her younger cousin, I saw the beautiful continuation of family traditions. Food knowledge passed down, creativity encouraged, joy shared – all within the simple act of making a pie together.
My grandmother once told me that recipes are more than instructions – they’re opportunities for connection. This Easter swirl pie, perhaps more than any other dessert in our family collection, proves her right. The collaborative creation process, with each person contributing their color and artistic touch, makes it as much an activity as a dessert.
I hope this Easter swirl pie brings your family as much joy as it has brought to mine. May it inspire creativity, colorful memories, and perhaps the beginning of your own sweet tradition.
With warmth, Sophia